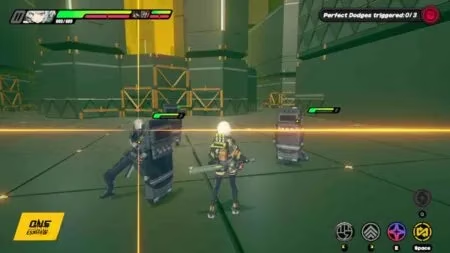
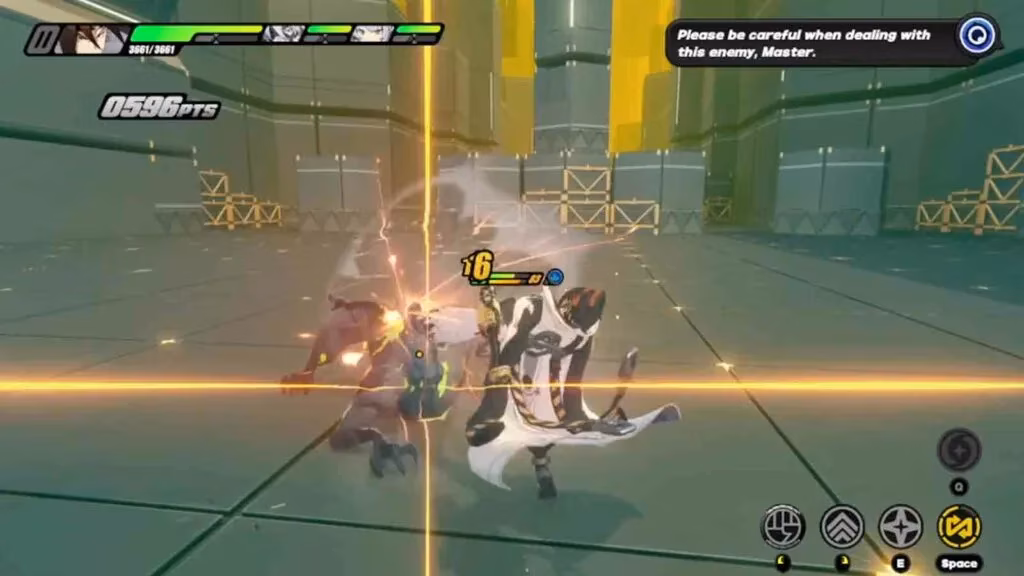
Zenless Zone Zero continues to captivate players with its fluid and highly stylish combat system, even years after its initial launch. As of 2026, the game has seen numerous updates, but the fundamental visual cues that govern moment-to-moment decision-making remain as critical as ever. For any Agent navigating the treacherous Hollows, the ability to instantly recognize enemy attack indicators is not just a helpful trick—it is the backbone of survival and high-level play. Among these cues, the orange and red flashes stand out as the most vital signals, each triggering a distinct chain of defensive and offensive maneuvers.
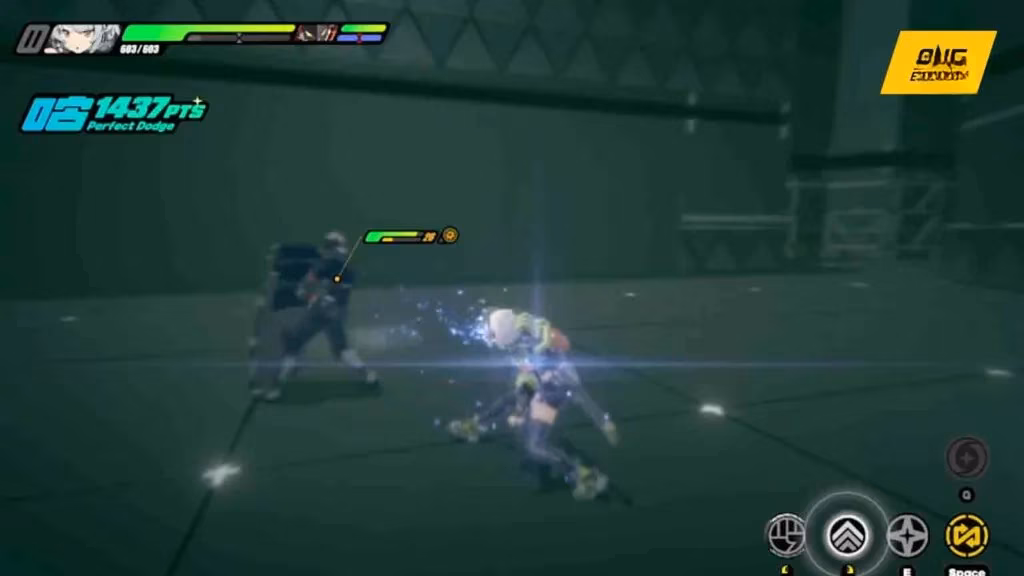
At its core, the orange flash is the game's invitation to execute a Perfect Dodge. The moment an enemy emits this glowing amber warning, the player is meant to tap the dodge input. Getting the timing right transforms the battlefield. The screen briefly fades to a desaturated grey, time slows to a crawl, and the active Agent shimmers with an invincibility frame. This state, known as Vital View, is the perfect window to turn the tables.
Successfully pulling off a Perfect Dodge is not just about getting out of harm’s way. It opens the door to a devastating Dodge Counter. By immediately following up with a Basic Attack or a charged EX Special Attack, players can unleash a high-damage sequence that not only chunks enemy health but also interrupts the target's current action. This mechanic rewards aggressive composure—hesitating after a dodge often means missing the brief Counter window and losing precious momentum.
Things become even more dynamic when the context shifts to the red flash. A common misconception among new players is that red flashes work exactly like orange ones. In reality, the red flash appears for a very specific reason: when the squad has completely exhausted its Assist Points.
Assist Points are the shared resource that enables Agent switching for defensive maneuvers. They are displayed as a set of glowing pips, and when they run dry, the icon becomes a grey, lifeless version of itself. At this moment, an incoming enemy attack that would normally trigger a yellow Assist prompt instead blinks red. This is the game’s way of saying, “You cannot rely on your team for this one. You must dodge.”
When hitting the switch button during a red flash, the player still swaps to another Agent, but the outcome differs from a standard Perfect Assist. Instead of a parry or evasive assist, the swap triggers a Perfect Dodge for the incoming character. This effectively brings the gameplay loop full circle: the newly swapped-in Agent will bask in the temporary invulnerability of a Perfect Dodge, ready to retaliate with a Dodge Counter. Thus, the red flash keeps the action flowing even when resources are depleted, never truly leaving the player without options.
However, the complete toolkit for defensive play is much richer when Assist Points are available. The golden flash prompt, not to be confused with the enemy’s orange attack aura, signals the chance for a Perfect Assist. Pressing the switch button at this exact moment executes one of two types of Perfect Assists depending on the Agent's innate style: a Defensive Assist or an Evasive Assist.
-
Defensive Assist: The switched-in Agent parries the incoming blow, animating a powerful block that builds a massive amount of Daze on the enemy. This frequently stuns aggressive foes and opens them up for extended combos.
-
Evasive Assist: The Agent dodges the attack, instantly triggering the Vital View slow-motion effect. This offers a safer repositioning tool compared to the riskier Perfect Dodge, while still providing the window for a follow-up attack.
Both types of Perfect Assists can be extended into an Assist Follow-Up. By immediately triggering a Basic Attack upon swapping, the player seamlessly transitions from defense into a counter-offensive. The Assist Follow-Up gains all the benefits of the initial Assist type—whether it’s building Daze or exploiting slowed time—while dealing considerable damage. Some of the most advanced rotations in Zenless Zone Zero involve chaining a Defensive Assist into an Assist Follow-Up, then swapping again to continue a devastating string of attacks.
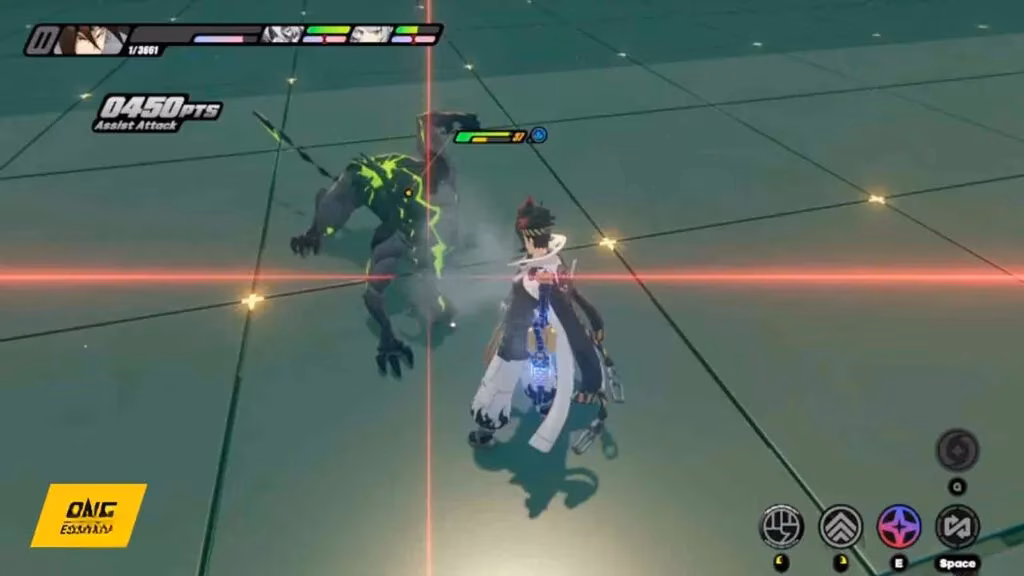
The strategic depth becomes clear when considering the resource economy these maneuvers support. Every successful dodge, parry, and counter contributes to the Decibel meter. Decibels fill up gradually and when they reach the maximum 3,000 points, the squad’s Ultimate becomes available. An Ultimate not only delivers eye-popping damage but also serves as a panic button that can interrupt nearly any enemy assault.
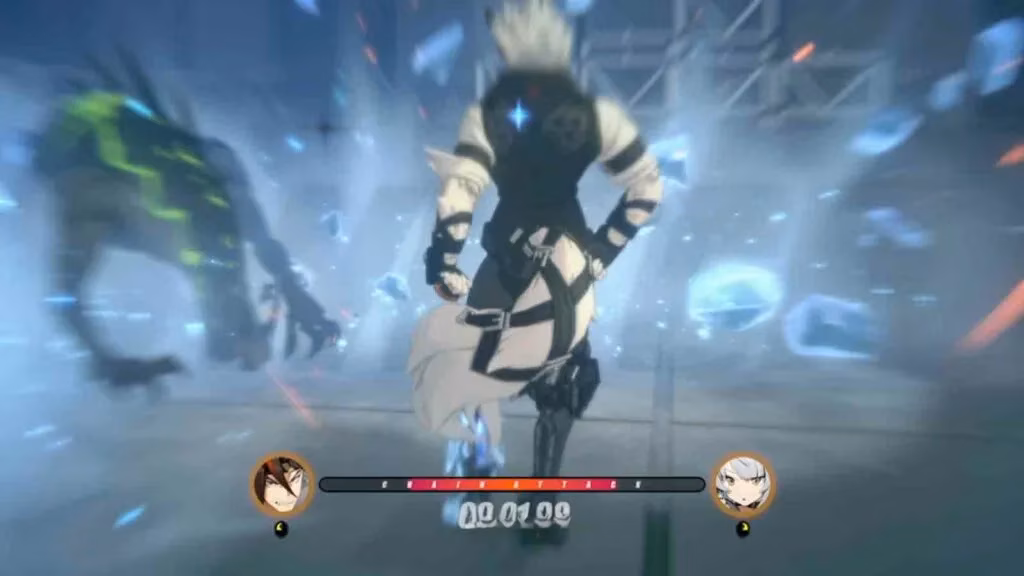
Furthermore, the Daze mechanic is tightly interwoven with these flash indicators. Aggressively parrying with Defensive Assists or piling on Dodge Counters fills the enemy’s Daze gauge. When it maxes out, the target becomes Staggered—a vulnerable state that invites a Chain Attack. The Chain Attack sequence, initiated by the staggering blow, allows players to rapidly swap between all three squad members, each delivering a specialized heavy hit. This is perhaps the most visually spectacular payoff for mastering the orange and red flash system. The grey screen of a Perfect Dodge, the clang of a parry, the burst of a Chain Attack: they all stem from reading that split-second signal correctly.
As players progress through higher-difficulty Hollow Zero expeditions and specialized Shiyu Defense nodes in 2026, the margin for error shrinks. Enemies attack faster and in more complex patterns. Still, the foundational rule remains the same. Orange means dodge to create an opening; red means either dodge alone or swap for a Perfect Dodge, but never panic. Golden prompts invite a team-based counter; greyed-out Assist Points demand individual skill.
The training modules at the Agent Academy, now expanded with more situational drills, still drill these principles relentlessly. Veteran Proxies will tell you that the real mastery of Zenless Zone Zero lies not in memorizing combo strings, but in reacting to the light. When the orange flash ignites, it is time to dance. When the red flash glares, it is time to prove that even without resources, you can turn a desperate moment into a perfect counter.